

|
Getting your Trinity Audio player ready...
|
✓ Medically reviewed by Dr. Ashutosh Shah, Plastic, Reconstructive & Cosmetic Surgeon (M.Ch., DNB)
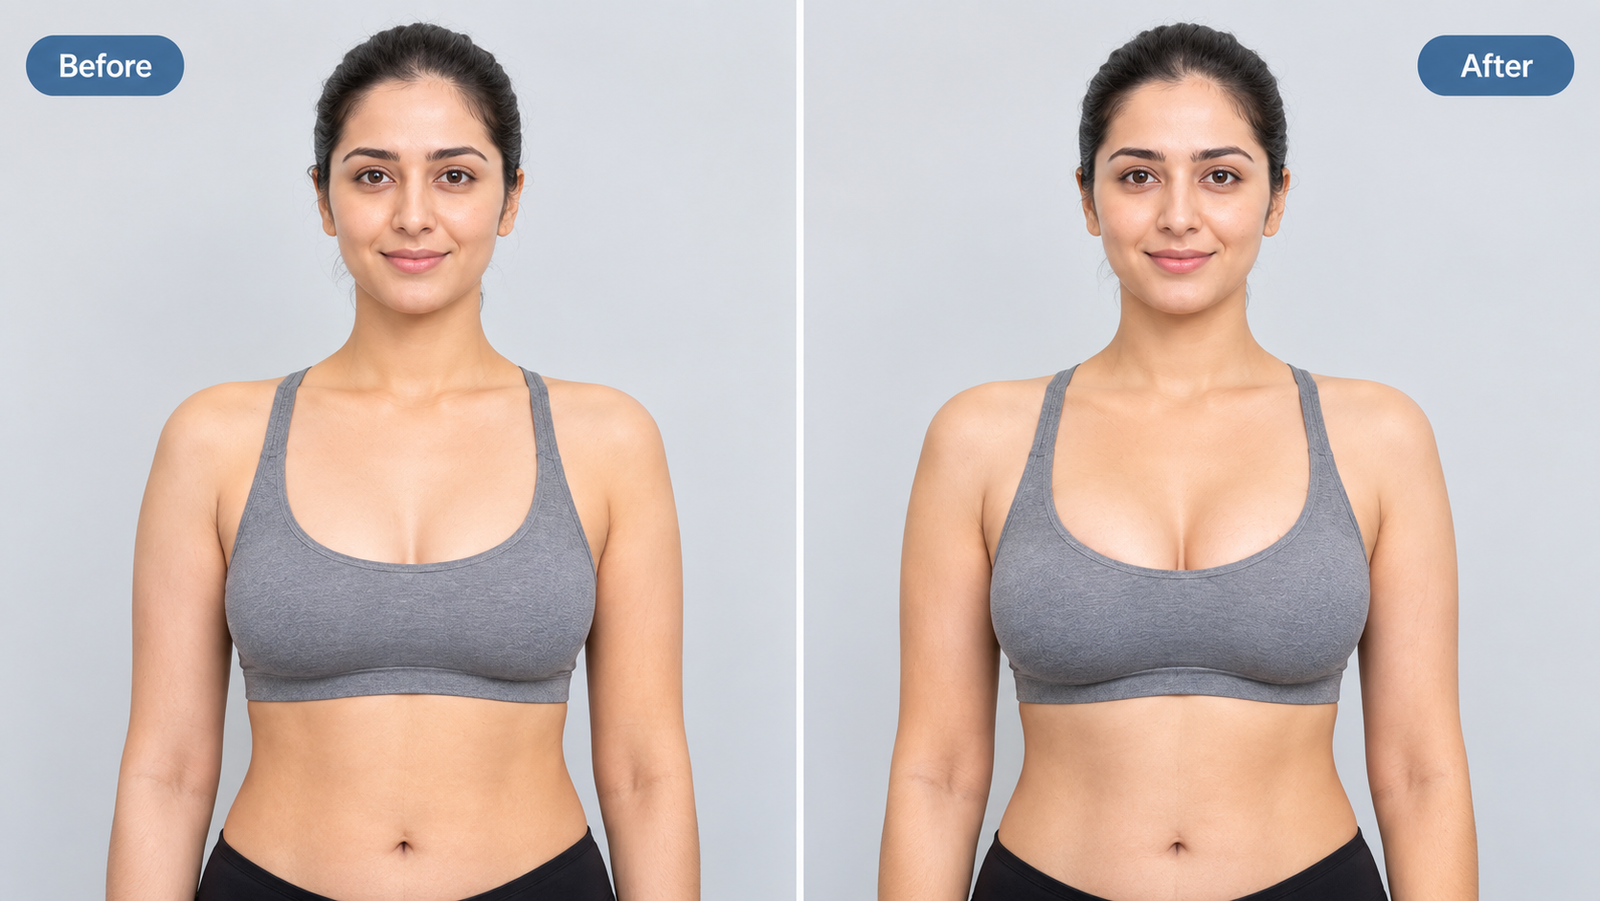
Before and after photos can help patients understand what cosmetic surgery results may look like, but not every gallery makes comparison equally easy.
A patient should look beyond the final photograph and check how the photographs were taken. The same distance, same lens, same lighting, same posture, same underwear or garment, no filter, stated time since surgery, a consent statement, at least three angles and a case similar to yours can make a gallery much more useful.
This checklist can be applied to almost any clinic’s gallery before using photographs to form expectations about a procedure.
Why Before and After Photos Need to Be Checked Carefully
A photograph can make a result appear different because of the way it was taken.
Changing the camera distance can alter proportions. Changing the lens can change perspective. Different lighting can emphasize shadows and contours. A different posture can make the body appear to have a different shape.
Clothing can also affect how much of an area is visible. Filters can change skin texture and appearance.
For this reason, before and after results should be compared using consistent photographic conditions wherever possible.
A good gallery should give enough information for a patient to understand the comparison instead of showing only a dramatic final image.
The Complete Before and After Photo Checklist
Use this checklist when looking at any clinic’s gallery.
| What to look for | Pass example | Fail example |
|---|---|---|
| Same distance | The before and after photographs are taken from approximately the same distance. | The before photograph is taken farther away and the after photograph is much closer. |
| Same lens | The same lens or comparable camera setup is used for both photographs. | Different lenses create noticeably different proportions or perspectives. |
| Same lighting | Both photographs use similar lighting direction and intensity. | One photograph has soft lighting while the other uses strong lighting that changes shadows and contours. |
| Same posture | The patient is standing or positioned similarly in both photographs. | The patient changes position, bends, twists or changes arm position between photographs. |
| Same underwear or garment | The same or comparable underwear or garment is used. | Different clothing changes how much of the treated area can be seen. |
| No filter | The photographs are shown without beauty or reshaping filters. | Skin, contours or proportions appear digitally altered. |
| Stated time since surgery | The gallery states how long after surgery the after photograph was taken. | The gallery only says “before” and “after” without giving the timing. |
| Consent statement | The gallery provides a statement that patient photographs are used with appropriate consent. | Photographs are displayed without a clear consent statement. |
| At least three angles | Front, side and another relevant angle are shown. | Only one carefully selected angle is available. |
| A case similar to yours | The patient has a reasonably similar starting condition and treatment goal. | A very different case is used to create expectations about your own result. |
Same Distance
Camera distance is one of the first things to check.
A photograph taken close to the body can make certain areas look larger or more prominent. A photograph taken farther away can create a different visual proportion.
For a fair comparison, the before and after photographs should be taken from approximately the same distance.
Pass example
The camera is positioned at a similar distance for both photographs.
Fail example
The before photograph is taken from several feet away while the after photograph is taken much closer.
When comparing cosmetic surgery before and after photos, look at the relationship between the patient and the camera, not just the visible result.
Same Lens
The lens used to take a photograph can change perspective.
A wide-angle lens and a different portrait or standard lens may make the same body look different.
The comparison becomes more useful when the same lens or a comparable camera setup is used for both photographs.
Pass example
The same camera and lens setup is used before and after treatment.
Fail example
The before image uses one lens and the after image uses a different lens that changes proportions.
This is particularly important when assessing body contour, breast shape or facial proportions.
Same Lighting
Lighting can change how contours and skin texture appear.
Strong directional light can create deeper shadows. Soft lighting can make contours appear smoother. Different lighting can therefore make a result look more dramatic or more subtle.
Pass example
Both photographs use similar lighting conditions.
Fail example
The before photograph has flat lighting while the after photograph uses strong studio lighting that emphasizes contours.
When reviewing before and after photos, compare the lighting before deciding how much of the visible difference comes from the procedure itself.
Same Posture
Posture can significantly change the appearance of the body.
A person standing straight can look different from the same person leaning, twisting or changing the position of their arms.
Pass example
The patient’s body position is similar in both photographs.
Fail example
The patient stands differently in the before and after photographs.
For breast surgery, the position of the shoulders and arms can affect how the breasts appear.
For liposuction, standing position and abdominal posture can affect the appearance of body contours.
Same Underwear or Garment
Clothing should also be consistent.
The same underwear or comparable garment allows the treated area to be seen under similar conditions.
Pass example
The same or comparable garment is used before and after treatment.
Fail example
The before photograph uses one garment while the after photograph uses clothing that changes the visible shape or coverage.
This can make it harder to judge the actual cosmetic surgery results.
No Filter
Filters can change the appearance of skin, texture, colour and contours.
For a medical or cosmetic result gallery, photographs should represent the patient rather than an edited version of the patient.
Pass example
The photograph is presented without a beauty or reshaping filter.
Fail example
Skin smoothing, digital reshaping or other effects have changed the appearance.
Patients should be particularly careful when the before and after photographs have noticeably different image quality or editing styles.
Stated Time Since Surgery
The time between surgery and the after photograph is important.
A photograph taken soon after surgery may not represent the same appearance as a photograph taken after the tissues have had more time to settle.
Pass example
The gallery states something such as:
Before: Before surgery
After: Six months after surgery
Fail example
The photograph is simply labelled “after” without explaining when it was taken.
Knowing the timing gives the patient useful context when looking at before and after results.
Consent Statement
Patient photographs should be used appropriately and with appropriate consent.
A clinic’s gallery should provide a clear statement about the use of patient photographs.
Pass example
The gallery explains that patient photographs are displayed with appropriate consent.
Fail example
Photographs are displayed without any clear information about consent.
A consent statement provides useful context when reviewing a result gallery.
At Least Three Angles
One photograph does not show everything.
Where appropriate, a useful gallery should provide at least three views.
1. Front view
This allows the overall change to be seen from the front.
2. Side view
This can show projection, contour and changes that may not be visible from the front.
3. Additional angle
An oblique or another relevant view can provide additional information.
For some procedures, the most useful angles will depend on the area being treated.
Pass example
The gallery provides front, side and another relevant view.
Fail example
Only one carefully selected photograph is shown.
A Case Similar to Yours
A photograph should not automatically be treated as a prediction of your own result.
Patients have different anatomy, skin characteristics, body proportions and treatment goals.
A useful comparison therefore asks whether the patient in the photograph has a reasonably similar starting point.
Check these points
- Is the starting condition similar?
- Is the treatment area similar?
- Is the procedure the same?
- Is the patient’s general anatomy reasonably comparable?
- Is the treatment goal similar?
- Was the photograph taken at a similar stage after treatment?
A case that looks impressive but is completely different from yours may provide less useful information than a more ordinary case that closely resembles your starting situation.
How to Use a Clinic’s Result Gallery
A clinic’s gallery can be used as one source of information when researching a procedure.
Start by finding photographs related to the exact treatment you are considering.
Do not compare an unrelated procedure simply because the final photograph looks appealing.
Instead, look for:
The same procedure → a similar starting condition → consistent photography → multiple angles → stated timing.
This creates a more useful way to evaluate before and after photos.
You can review the following Elegance Clinic galleries:
Elegance Clinic result gallery
Breast surgery before and after photos
Liposuction before and after photos
Keloid treatment before and after photos
Breast Surgery Before and After Photos
When reviewing breast surgery before and after photos, consistency becomes particularly important because breast shape can change with posture, arm position, clothing and camera angle.
Look for:
- Similar distance
- Similar lens
- Similar lighting
- Similar posture
- Similar garment
- No filter
- Stated time since surgery
- At least three angles
- A similar starting case
The front photograph may show one aspect of the result, while the side photograph can provide additional information about shape and projection.
Therefore, do not judge a breast procedure from one photograph alone.
Liposuction Before and After Photos
For liposuction before and after photos, posture and camera position can have a particularly noticeable effect.
A patient standing straight and relaxed may look different from the same patient pulling in the abdomen or changing their posture.
When reviewing liposuction results, check:
- Front view
- Side view
- Oblique view
- Same distance
- Same lighting
- Same posture
- Similar clothing
- Stated time since treatment
The goal is to compare the actual photographs fairly rather than relying on the most dramatic image.
Keloid Treatment Before and After Photos
For keloid treatment, the comparison should focus on the treated area while still considering lighting, camera distance and image quality.
The timing of the after photograph is especially useful because scar appearance can change over time.
When reviewing keloid treatment before and after photos, check whether:
- The same area is photographed
- The camera distance is comparable
- Lighting is similar
- No filter has been applied
- The time since treatment is stated
- Multiple relevant views are provided
This gives a better understanding of the visible before and after results.
What Before and After Photos Can and Cannot Show
Photographs can show visible changes, but they cannot provide every piece of information a patient needs.
They can help you understand:
- The type of visible change shown in previous cases
- How a particular treatment area may appear after treatment
- The range of visible results presented by a clinic
- Whether the gallery provides multiple views
- Whether photographs appear consistently taken
They cannot tell you:
- Exactly what your own result will look like
- Everything about another patient’s recovery
- Every aspect of the patient’s treatment
- Whether you will have the same outcome
- Whether the same procedure is appropriate for you
This is why photographs are best used to support questions and expectations rather than as a guarantee.
The 10-Point Gallery Check
Before relying on a photograph, ask:
1. Same distance?
Pass or fail.
2. Same lens?
Pass or fail.
3. Same lighting?
Pass or fail.
4. Same posture?
Pass or fail.
5. Same underwear or garment?
Pass or fail.
6. No filter?
Pass or fail.
7. Time since surgery stated?
Pass or fail.
8. Consent statement provided?
Pass or fail.
9. At least three angles?
Pass or fail.
10. Case similar to yours?
Pass or fail.
If several important points fail, be cautious about using that gallery photograph to form expectations.
Conclusion
Before and after photos can be useful when they allow a fair and consistent comparison.
The most important things to check are same distance, same lens, same lighting, same posture, same underwear or garment, no filter, stated time since surgery, consent statement, at least three angles and a case similar to yours.
Use the same checklist for breast surgery, liposuction, keloid treatment or another cosmetic procedure. Looking at a complete gallery rather than a single photograph can give you more context when researching cosmetic surgery results.
A good gallery should help you understand a result realistically, not simply show the most dramatic possible photograph.

